- Download ScanImage zip file.
Create or Select a folder to install ScanImage software.
Suggestions:C:\My Documents\Matlab\ScanImage. or C:\Program Files\Vidrio\ScanImage.
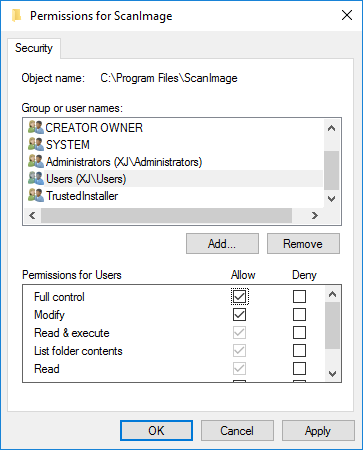
Check the ScanImage install folder permissions and allow full control.
- From Windows explorer, right click on the folder and select 'properties'.
- In the Properties dialog box, uncheck 'Read Only', if checked and select 'Apply'.
- In the security tab click the edit button
- For the "Users" user, ensure "Full control" is selected and click OK

- Select OK.
- From Windows explorer, right click on the folder and select 'properties'.
- Extract the contents of the ScanImage ZIP file into your Scanimage folder.
- Launch the Matlab application.
- Add your ScanImage folder to the Matlab Path.
- In the Matlab application, click the 'Home' Tab.
- In the environment section, click on 'Set Path'.
- The Set Path dialog is displayed.
- In the Set Path dialog, select 'Add Folder...'.
- When prompted, locate and select your ScanImage folder. You should see your ScanImage folder at the top of the MatLab search path list.
- Ensure there are no other ScanImage installations on the path. If there are, select them and click "Remove"
- Press 'Save'.
- Press 'Close'.


